The News & Events section (view) houses all news and event promotion articles. There are sub-directories within the News & Events section to allow oranization of articles for particular departments and sections at PCC, ie Performing Arts. By having all articles housed in the parent directory News & Events, it allows us to pull articles into the main News & Events landing page.
Tags
Tags allow us to further organize and determine where particular articles are displayed throughout the site. When you creating an article you can choose various tags to be added to the article. If you do not include any tags the article will still display as a page, but will not display on any section / sub-section landing pages. Tags include:
- Featured — will display in the slider on the News & Events landing page
- Sub Featured — will display under the slider on the News & Events landing page
- featured-home — (Home Featured) when added it will dispay on the homepage
- News — will display on the News section
- Press Release — will display on the Press Releases page
- Performing Arts — will display on the Performing Arts landing page
- Events
News vs Events vs Calendar
- News (Omni Update) — anything that is newsworthy, featured stories, student success stories, campus coverage, etc.
- Events (Omni Update) — these are within the "News and Events" section are geared towards event type news items. This is NOT the events calendar, but rather a way to promote an event.
- Calendar (25Live) – this is outside of Omni Update. Calendar is a direct feed from 25live with all events. An event that you promote within OmniUpdate (above) may also be within 25Live and post to the calendar, but just because an event is posted to 25Live, does not mean that it needs or even should be within the "Events" sub-section of "News & Events."
Getting Started
Prior to publishing a news or event story, prepare your writen copy as well as any images you would like to include. Also, determine which sub-section within the News & Events section you would like to publish the article and which tags you will be adding.
Images
750px X 600pxhttp://support.omniupdate.com/oucampus10/pages/edit/image-editor.html
For the other images within the story, the width should not exceed 1200px and it is best to use the "Save For Web" option within Photoshop to reduce file size. OmniUpdate does NOT currently have any cropping options.
Posting an Article
- Log into Omni Update.
- Click "Content" then click on "Pages."
- Navigate to "news-and-events" directory and click on "news-and-events."
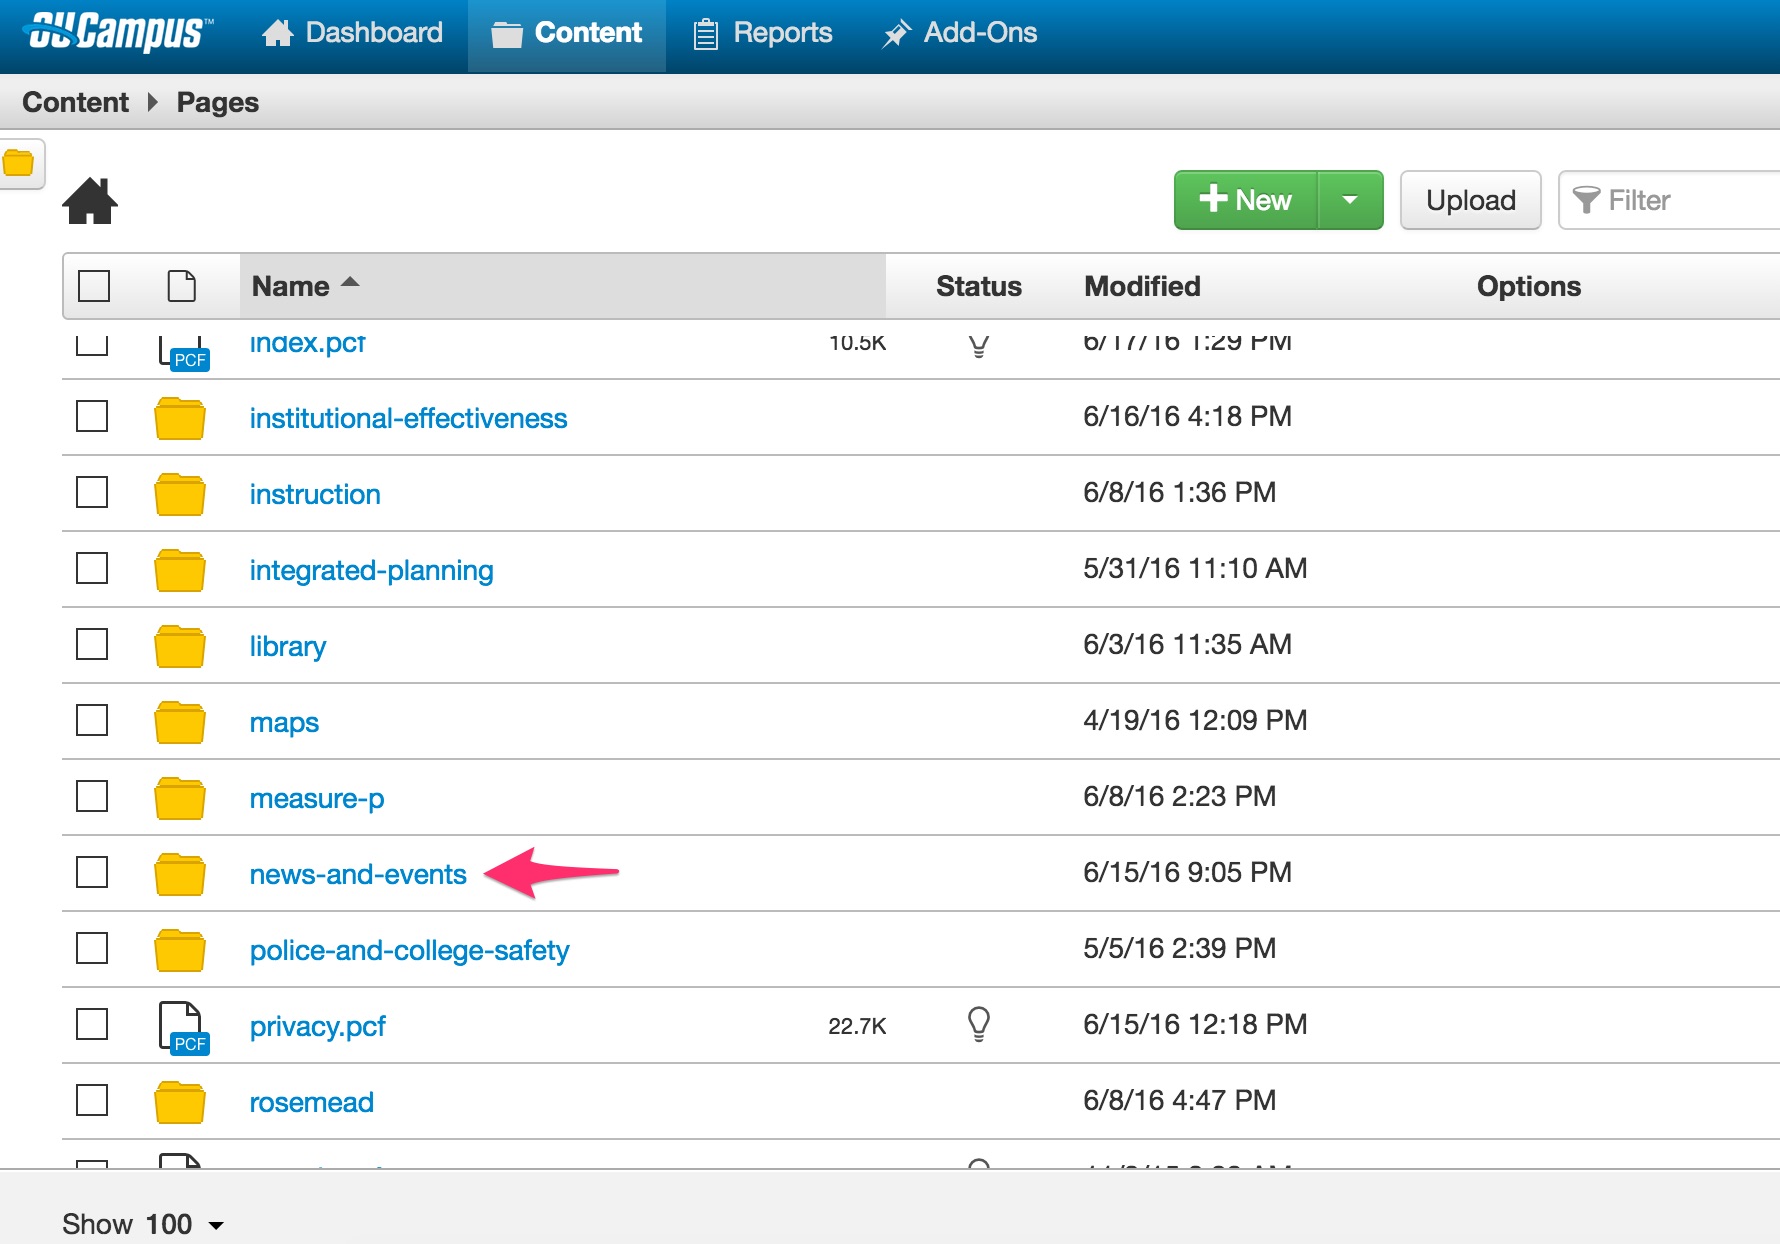
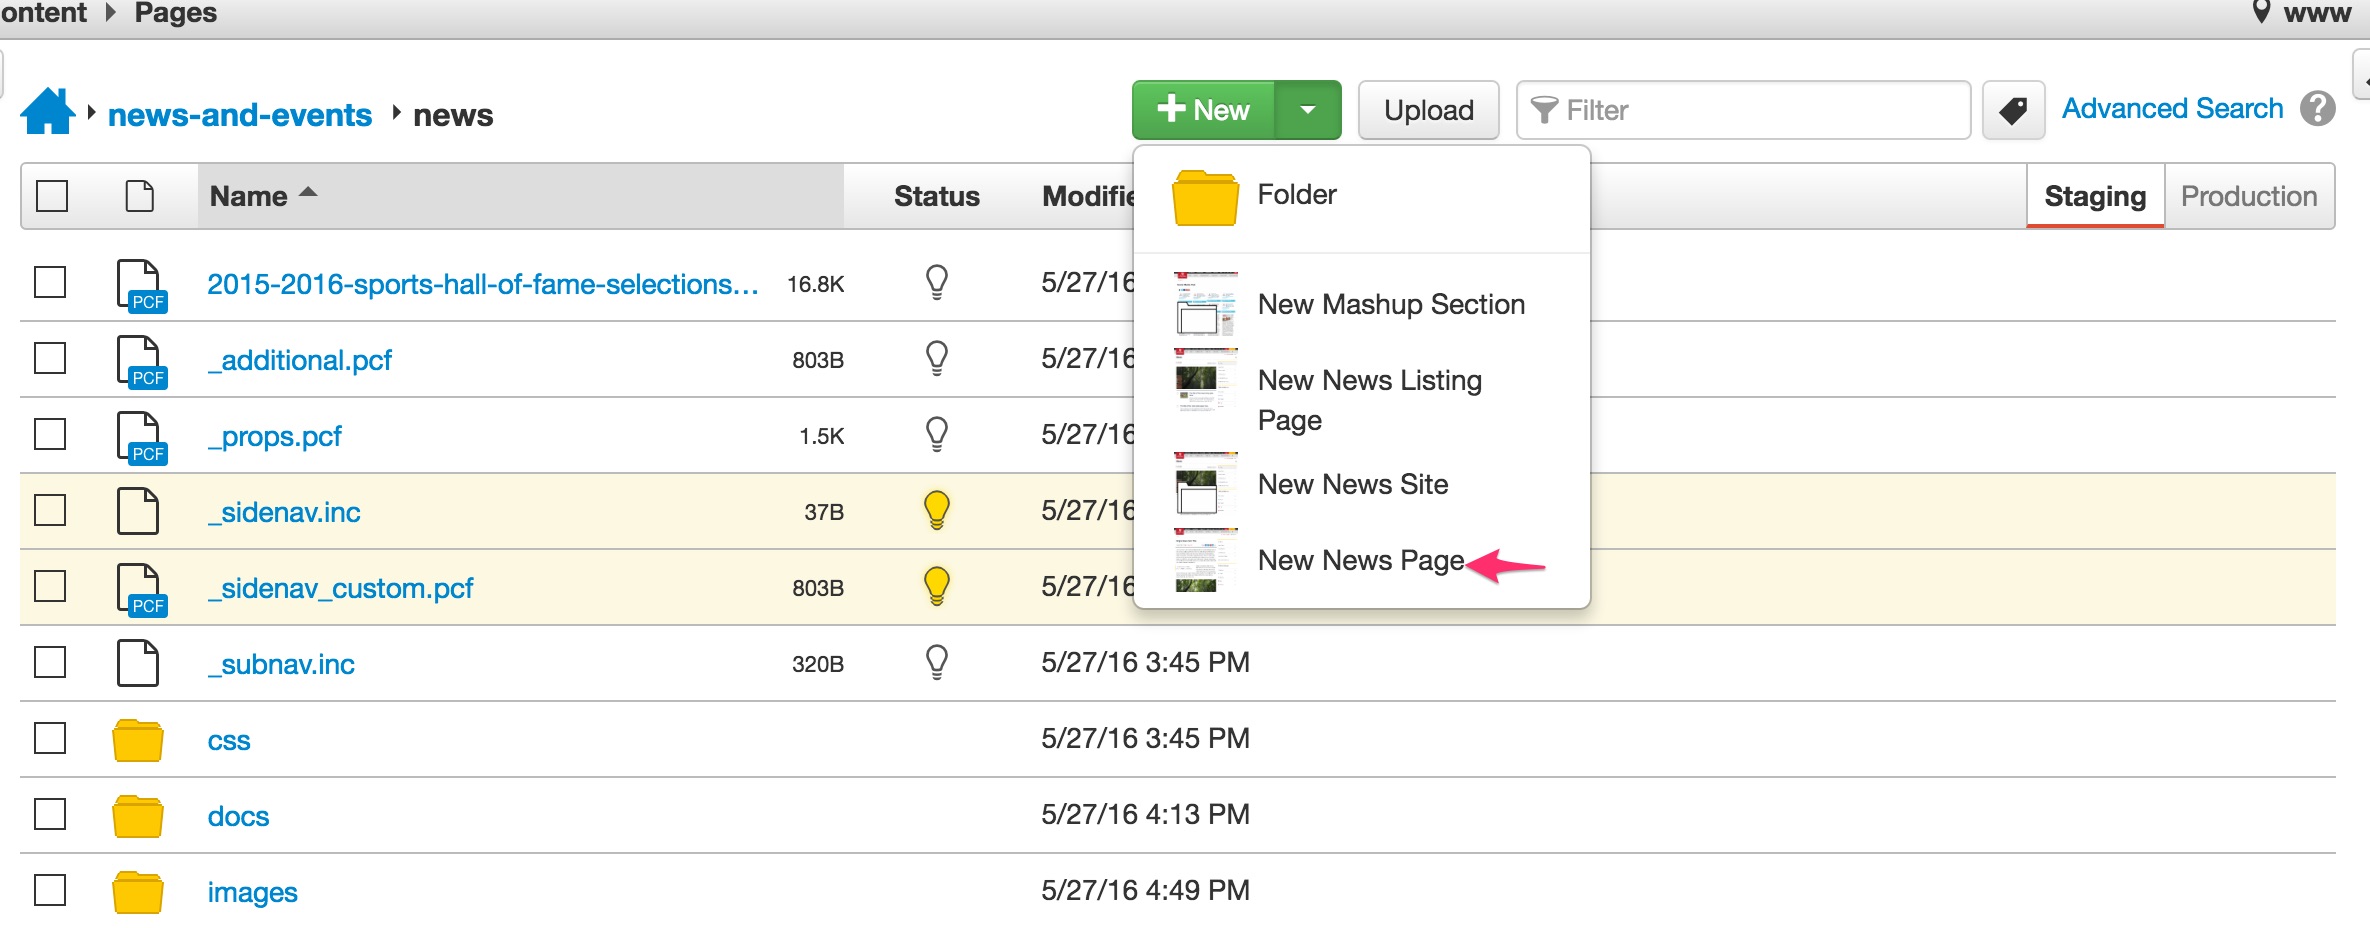
- Once you're in the "news-and-events" directory, you'll notice various sub-directories for different sections, ie "news," "events," "press-releases," etc. Click on the directory in which the article should be published within. For this tutorial, we're going to publish to the "news" sub-directory. Click on "news."
- Once within the "news" sub-directory, click on the arrow next to "New" green button
at the top of the page and select "New News Page."
- A popup will appear with various fields and options.
- Post Title = the title of the article
- Post Author = enter the author of the article
- Author Email = enter the author's email
- Post Description = enter a short description of the post, this could be an intro or the first couple lines of the article. Make sure this is around or less than 140 characters.
- Featured Post = check the box if this should be displayed as a featured post on the sub-section landing page
- Post Tags = check each box next to the tag that should be used for this article, you can select multiple (refer above for descriptions of tags). You can add additional or delete tags later as well.
- File Name = enter the file name of the article. This should be all lowercase and use hyphens in between words. For instance, if your article was titled "Ten Great Things About PCC," your file name might be "ten-greate-things-about-pcc.pcf" — make sure to include the .pcf part.
- Then click "Create"
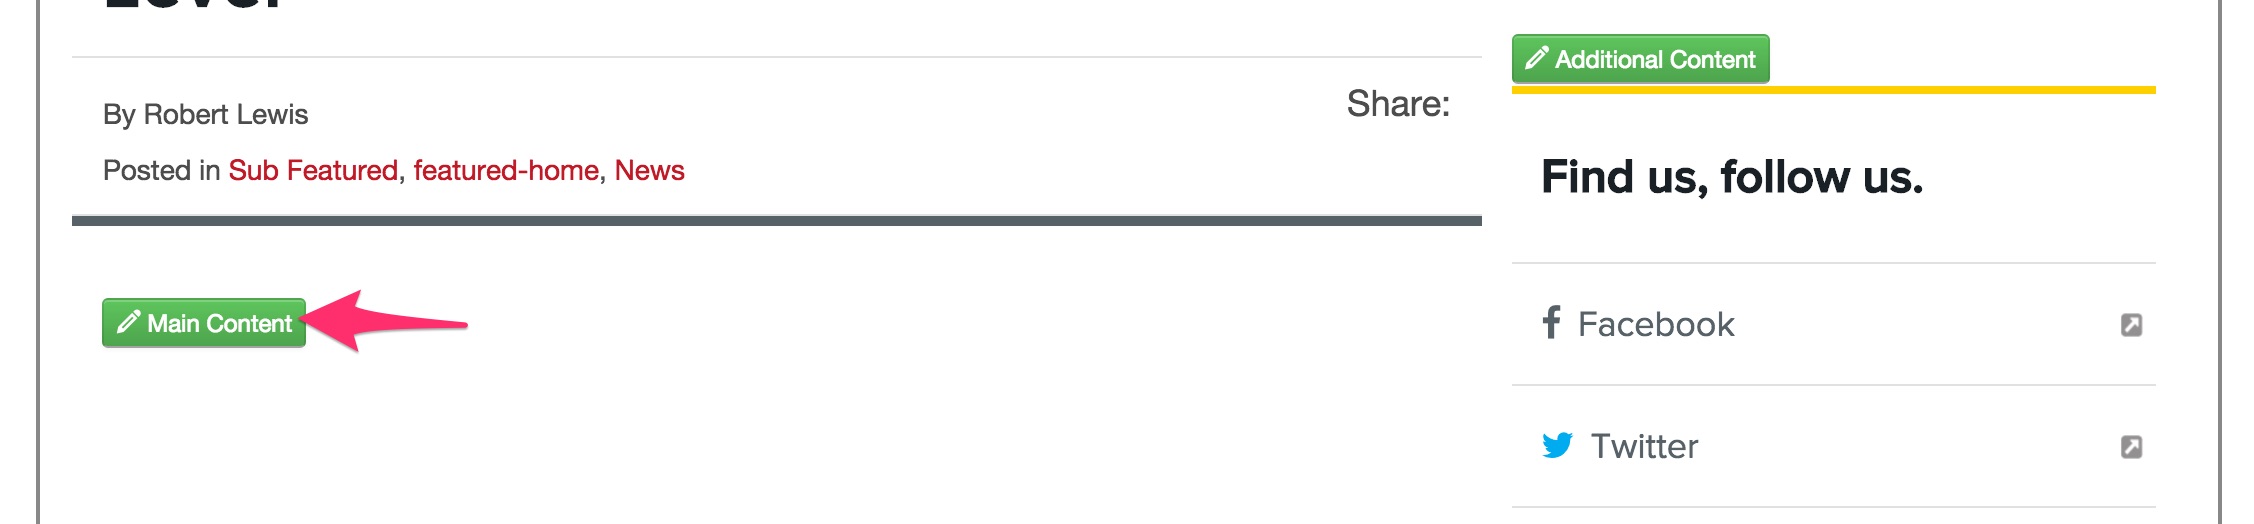
- After you click "Create," you'll be brought to a new page where you can start to actually
add your content. Click the green "Main Content" button and you will see the Just
Edit interface with formatting options similar to Word or other WYSIWYG editors.
- Add your content and any images, etc. See OU Campus docs for Just Edit documentation
— Just Edit Docs, Images Docs
Then once happy with your content, click "Save"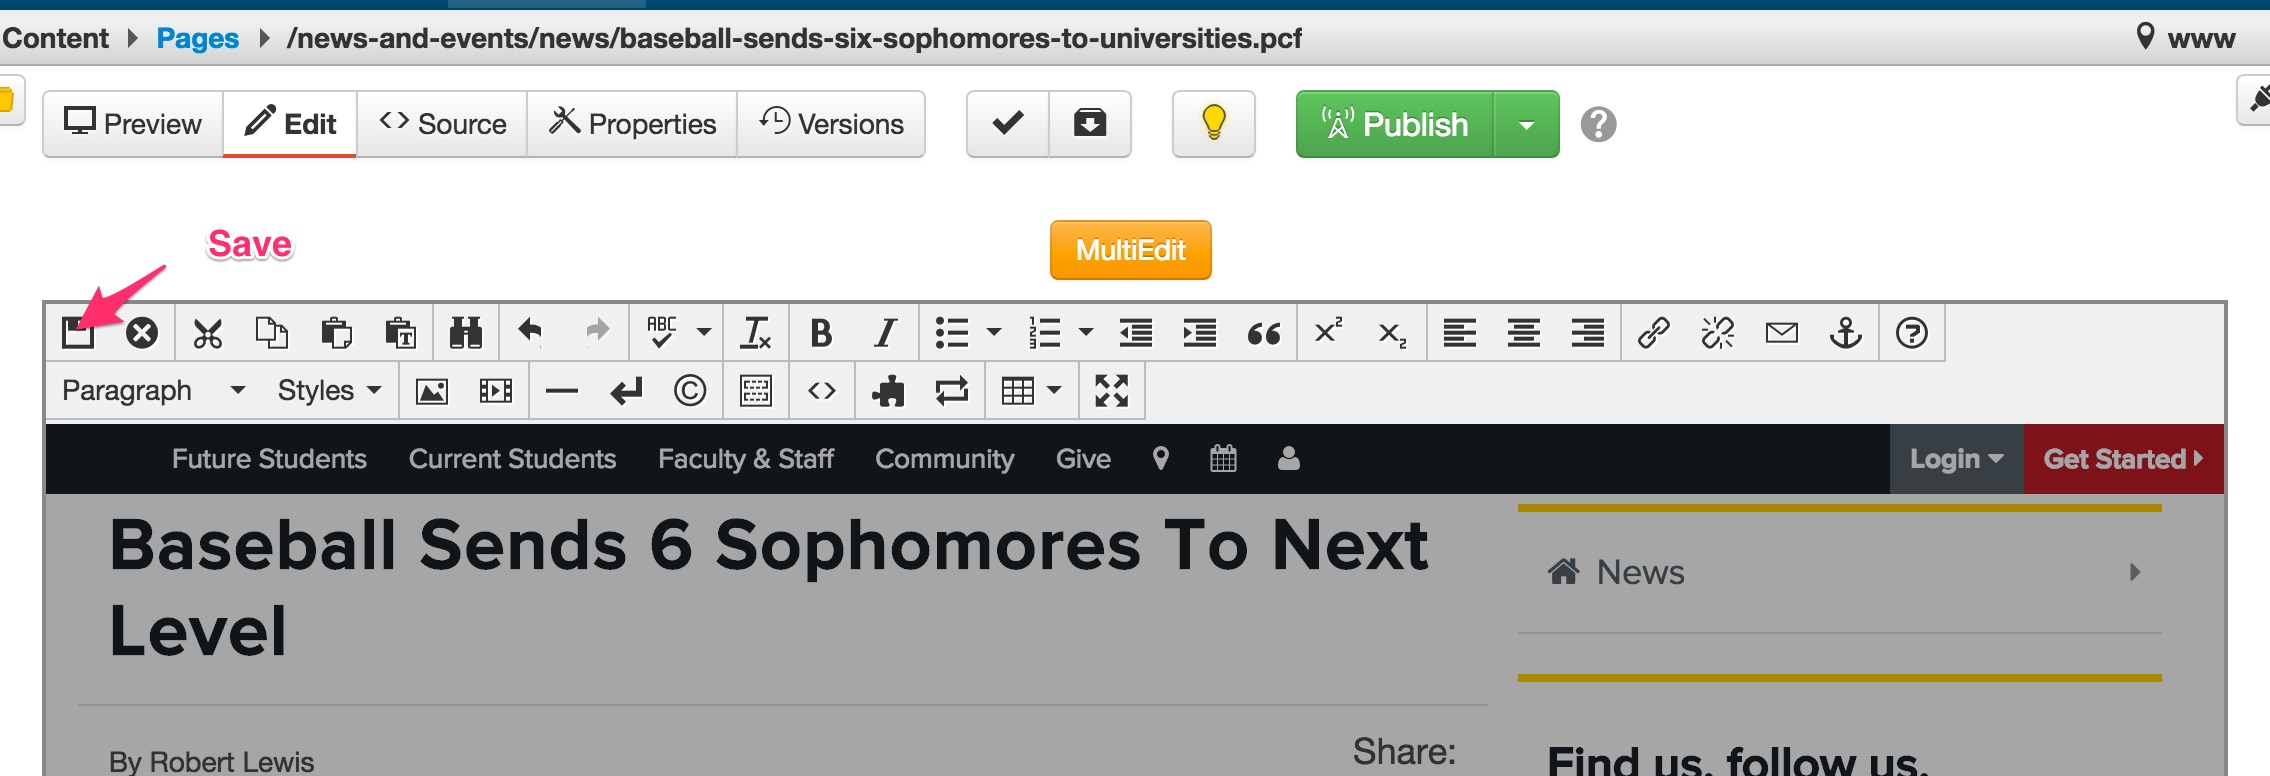
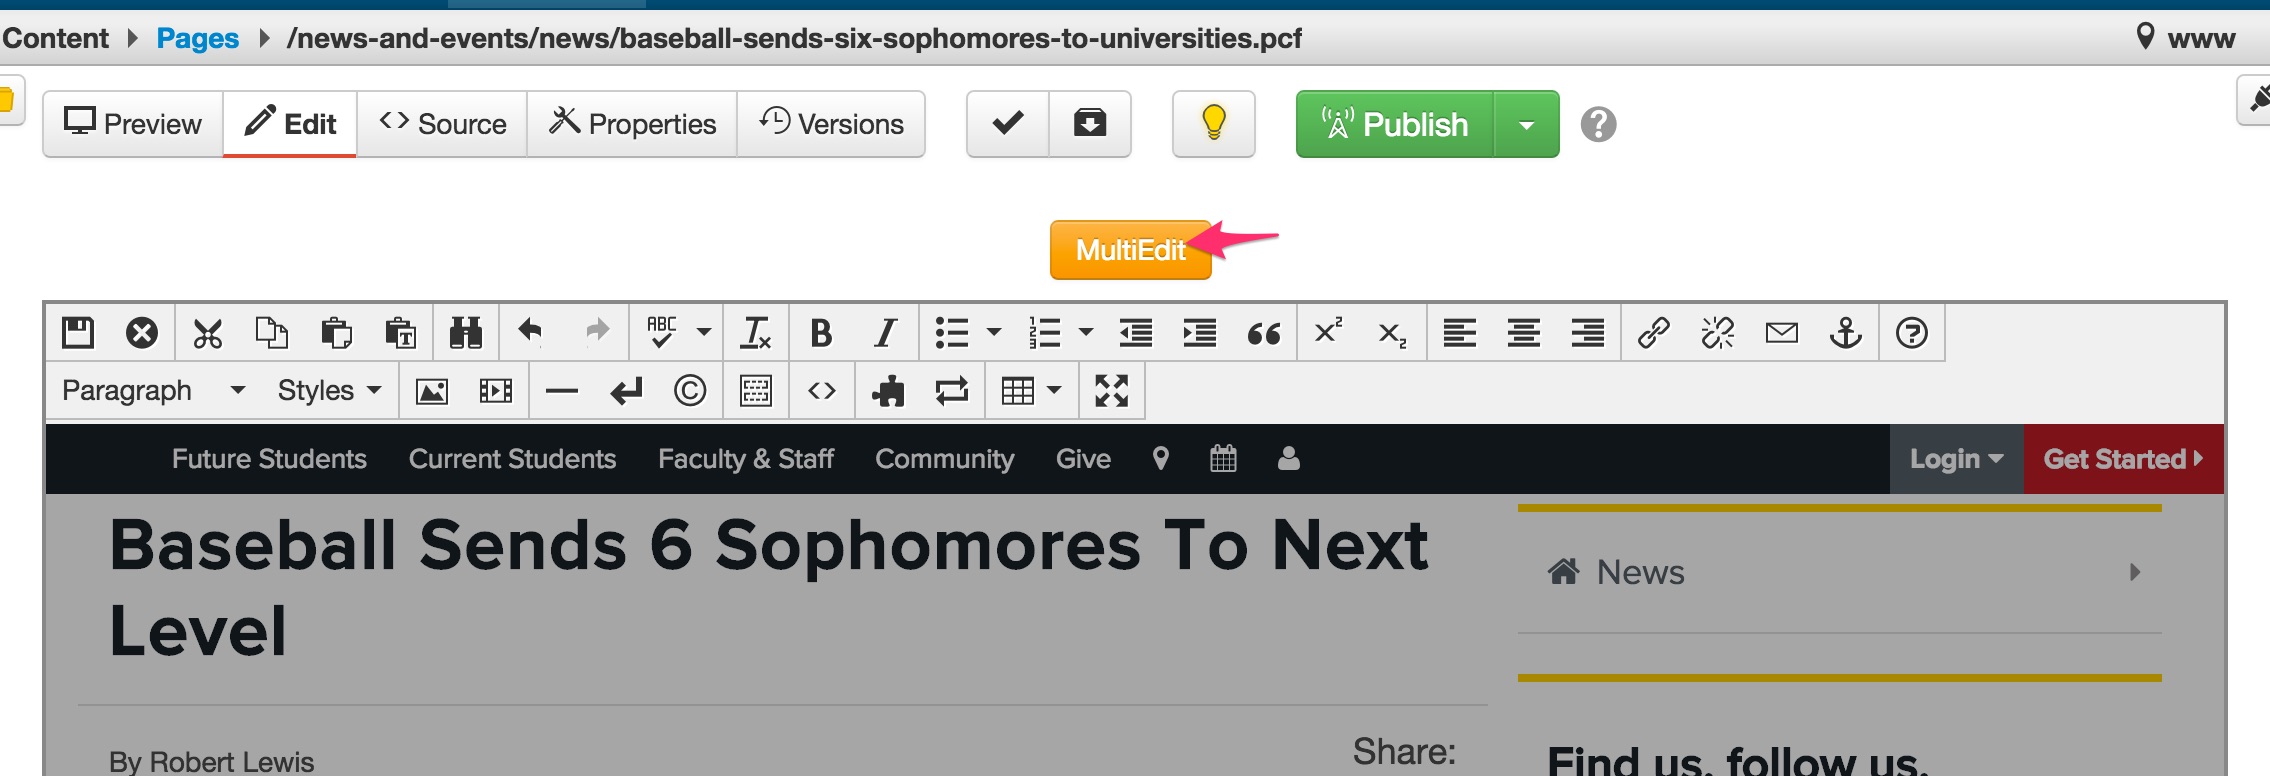
- Now the fun starts! After you click "Save" you'll see an orange "Multi Edit" button,
click on it.
- The Multi Edit is special to "articles" (News items). When the page loads, you'll
see much of the same information you saw in Step 6 and this is where you can modify
that information as well as there are a few additional options for the "Featured Image."
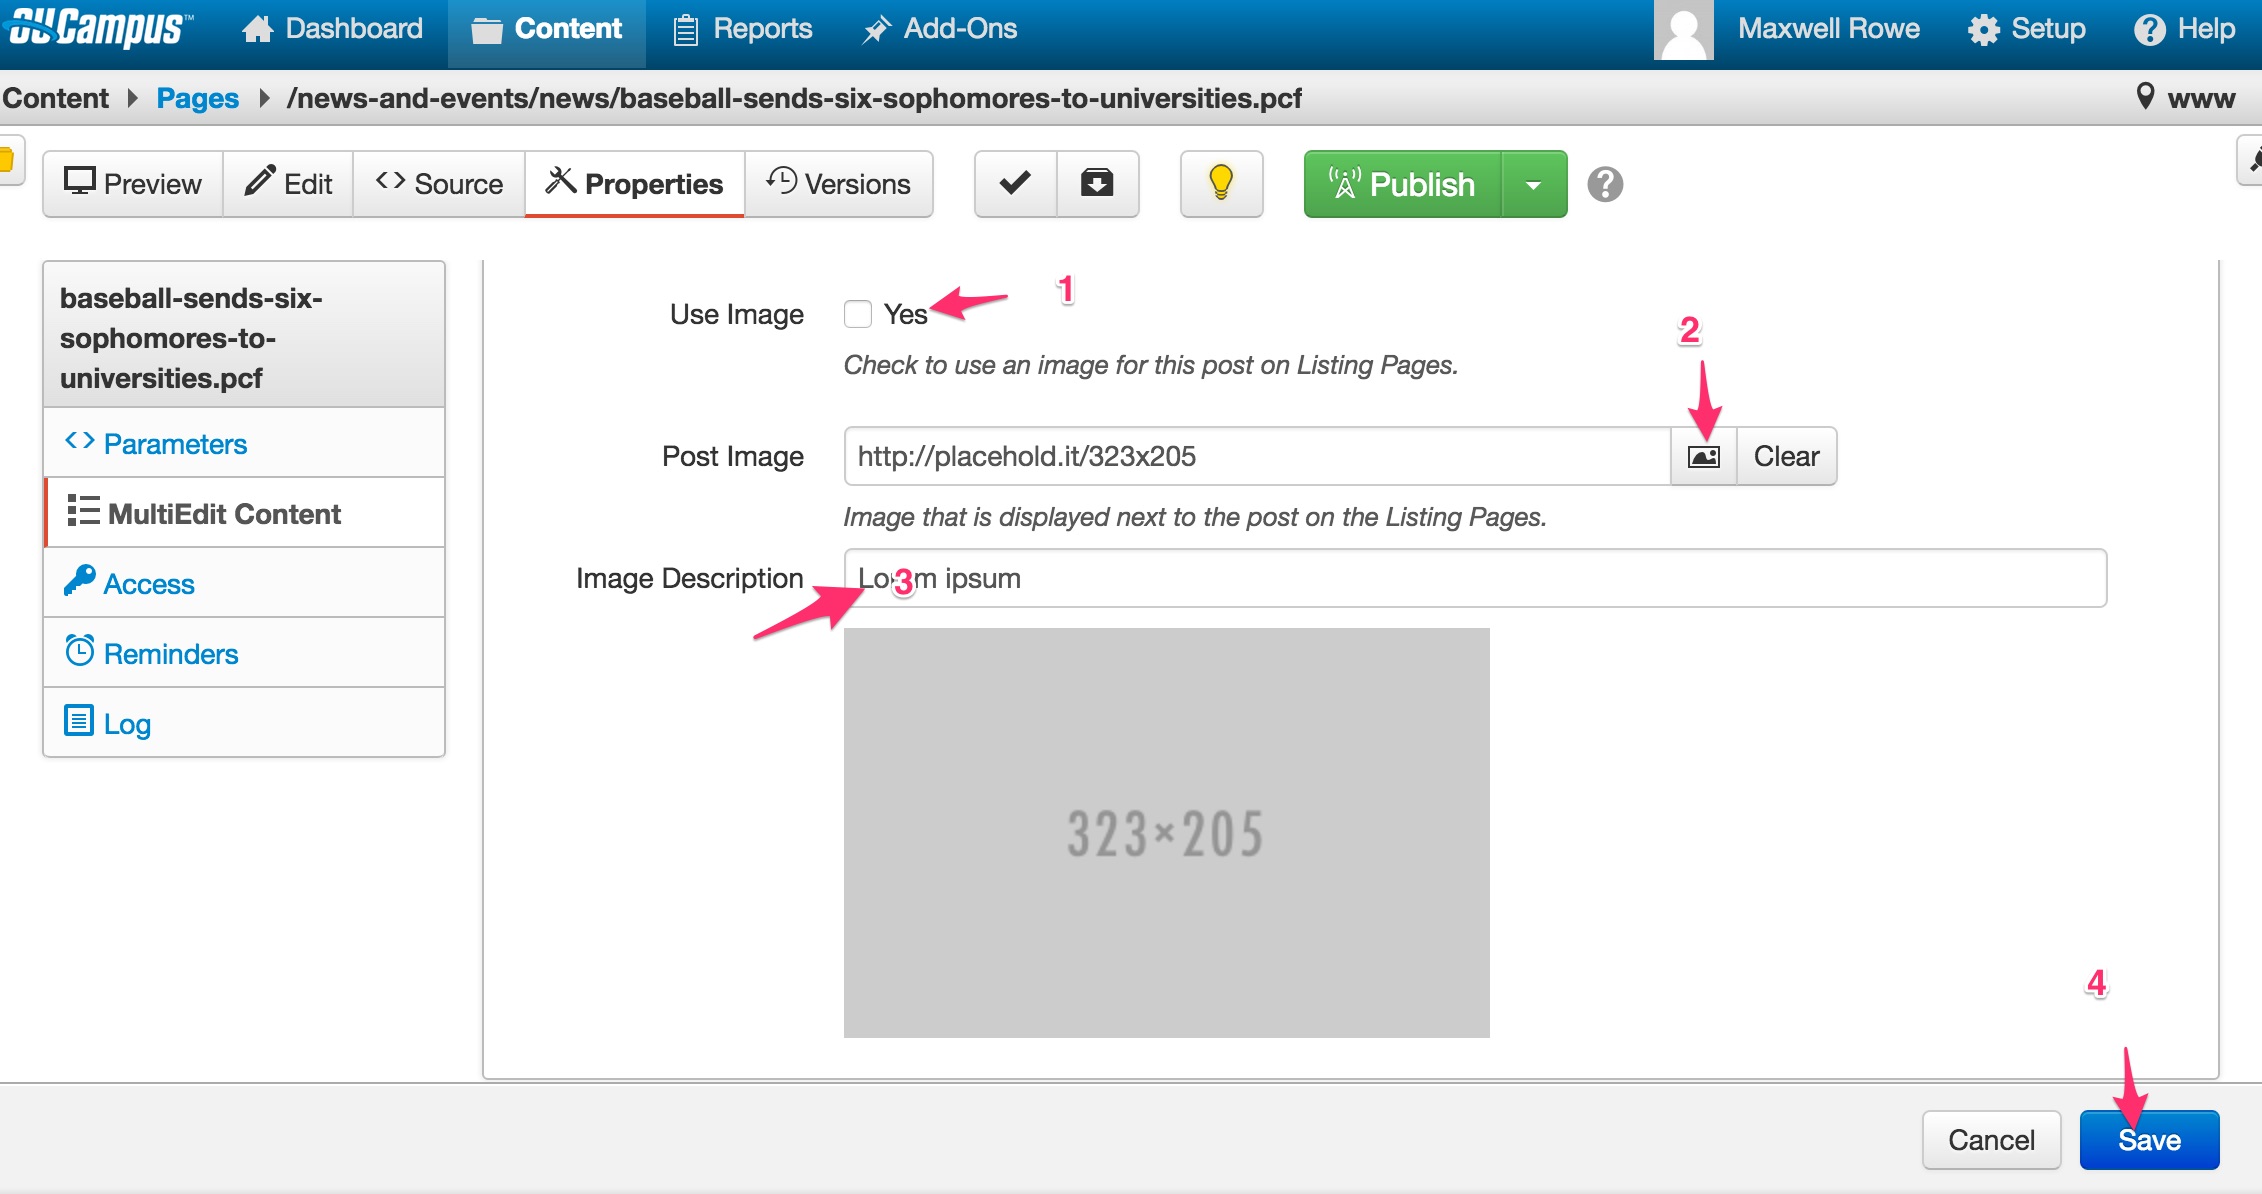
If you want to include a Featured Image, follow the steps below:
- Toward the bottom, check the box next to "Use Image" (Yes)
- Upload your image
- If you haven't already cropped your image to 750px X 600px, after upload, click on "Edit Image." View more at http://support.omniupdate.com/oucampus10/pages/edit/image-editor.html
- In the Crop options on the left, select 5:4 ratio then click Apply Crop.
- Click Save.
- Enter your description for the image
- Click Save
- Next is to check the Parameters (under Properties) prior to publishing. Click on Properties
then click on Parameters (if parameters is not visible, make sure the pages is checked
out to you [yellow lightbulb].
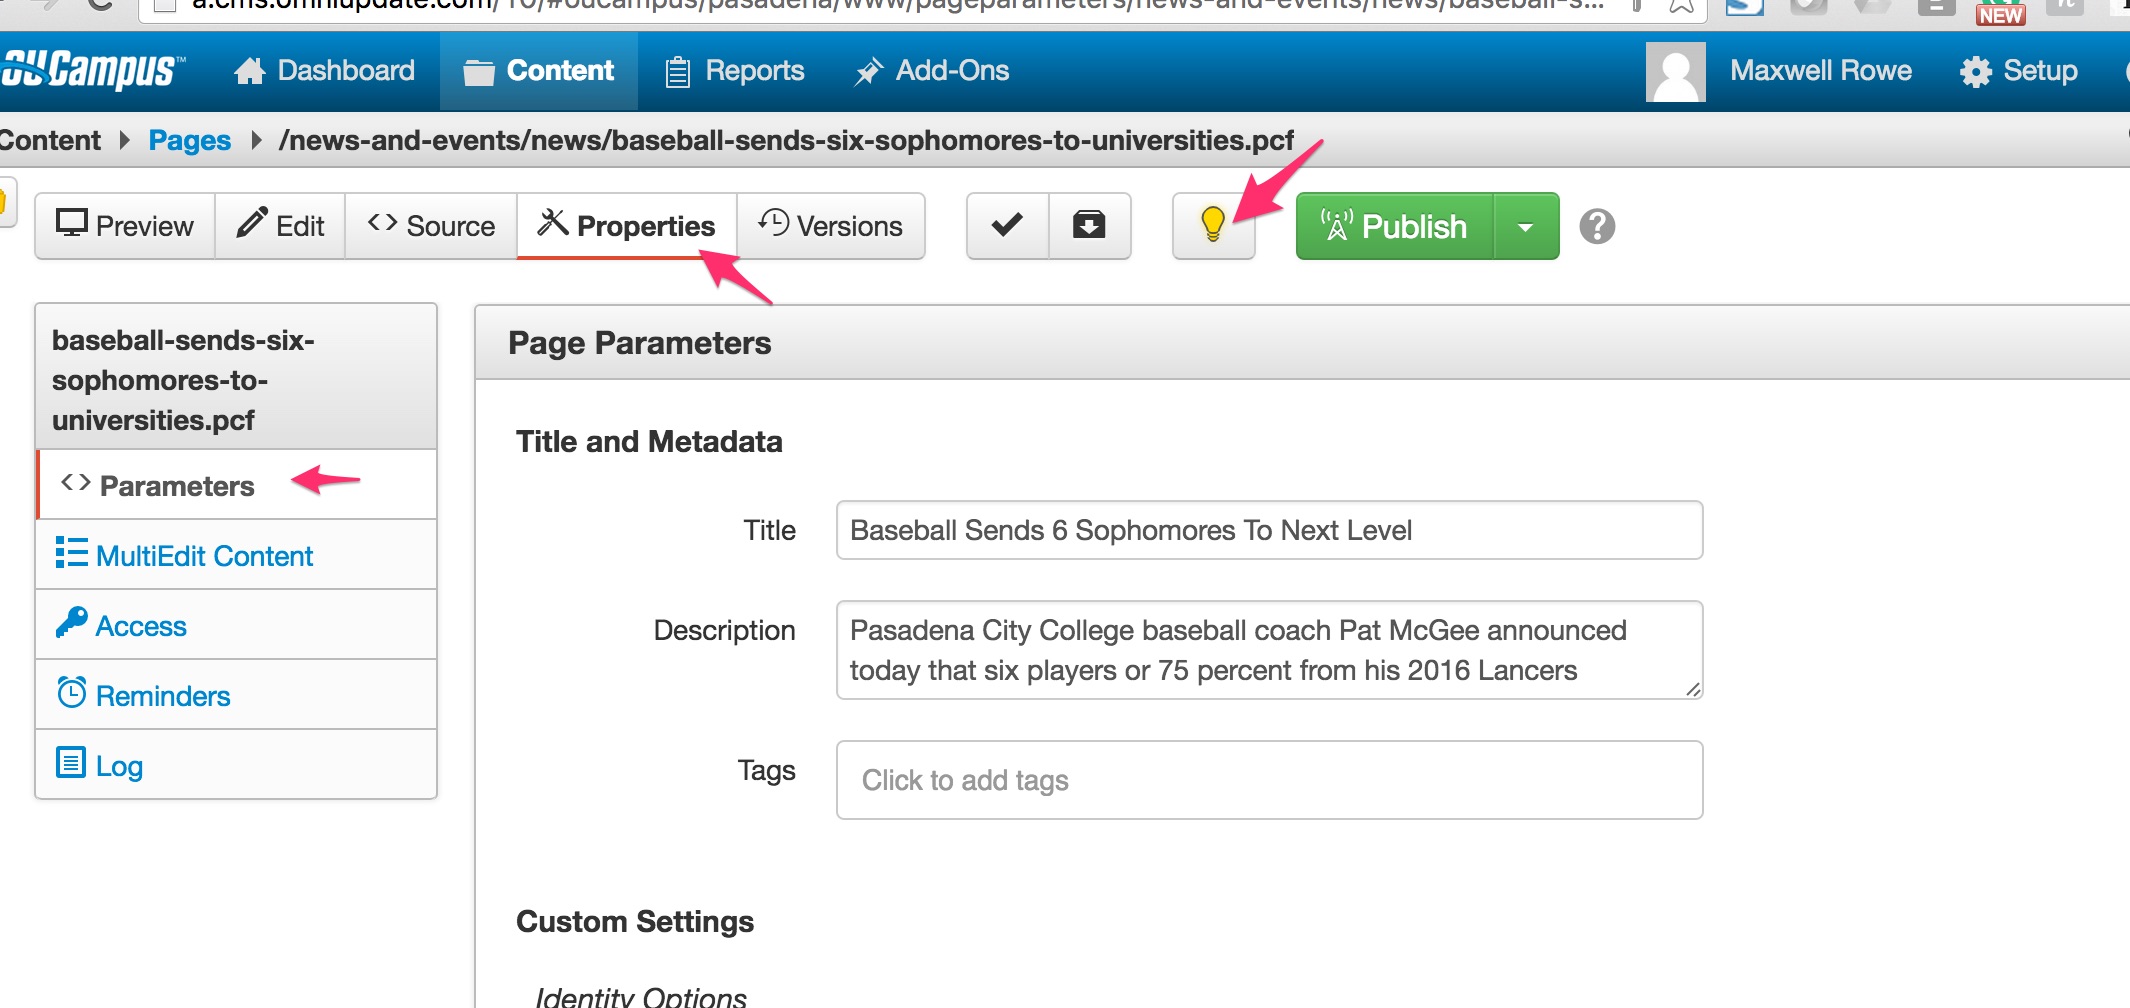
- Within Parameters, you have the following options (many of which were already set
in previous steps, but if you need to modify them you can do so here):
- Title — article title as well as the title for the page
- Description — meta description for the article (for search purposes)
- Tags — NOT the same as tags mentioned above, but rather tags to organize within Omni Update CMS, leave as is
- Page Heading — change if you want the heading of the article to be different than page title
- Breadcrumb — if you want the breadcrumb different than the title of the page
- Mobile Toggle — leave as is
- Left Column Image — leave as is
- Sidenav Options (ALL) — leave as is
- Gallery Type — if you have a gallery in the article, choose whether you'd like it displayed as a slider or thumbnail grid...
- News Options
- Display Image: If you would like to display the image on the actual article and have the text overlay, see example, check the box.
- Disqus Comments: if you would like to allow comments, check the box.
- Post Date: You can set any post date. Use the "Date Picker" to choose a date.
- Click "Save" when you're done editing.
- You are now ready to Publish! At the top of the page click on the green "Publish" button. A popup will display. If you have already "Saved" then it will go directly to the "Publish" confirmation popup, otherwise it will ask you to save first.
- You can then view your post by clicking on the "View In New Window" link in the Publish
confirmation message at the bottom of page.
